|
From the main screen menu in Outlook.
Select Tools -> Accounts
Then select Add -> Mail
The internet connection wizard then opens.
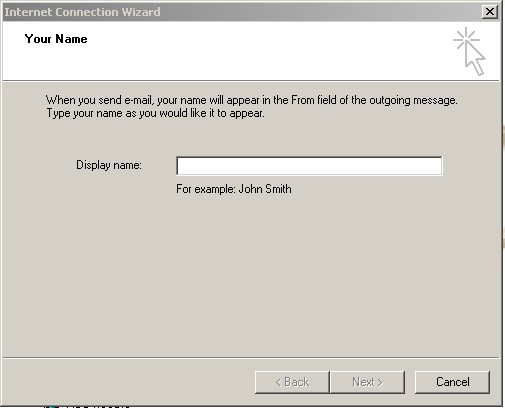
Enter the name that you wish to use for this account.
It could be your own name or your company name.
This will be the name that will appear as the email "From" when you send emails.
Click on "Next >" to continue.
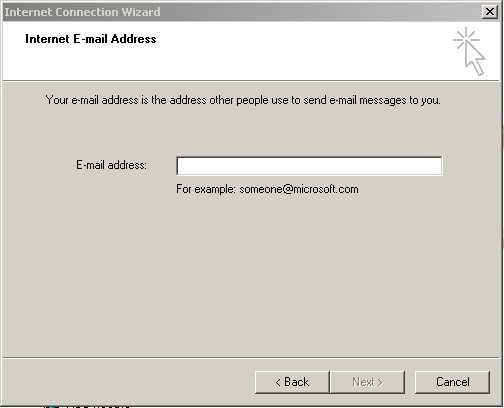
Enter your full email address.
This will be of the form "someone@yourdomainname".
The email address will have been advised to you by email from The Internet Hosting Company.
Click on "Next >" to continue.
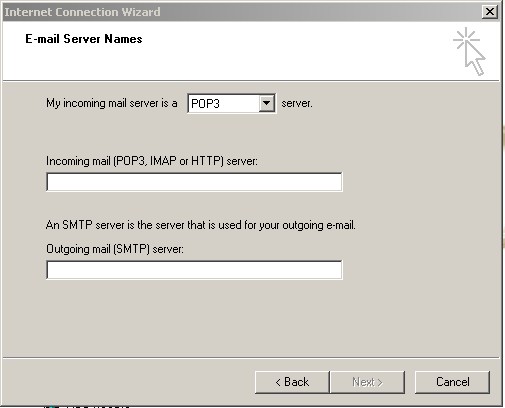
Your incoming mail server is a POP3 server. This should already be selected.
Enter your incoming mail server address.
This will have been sent to you by email from The Internet Hosting Company and will be mail.yourdomainname
The "Outgoing mail (SMTP server" will depend on your ISP (Internet Service Provider). If you do not know this then check on your ISP's support web site.
Some examples of this are: mail.bigpond.com, mail.dodo.com.au
NoteYou can not use mail.yourdomainname as your outgoing mail server.
Click on "Next >" to continue.
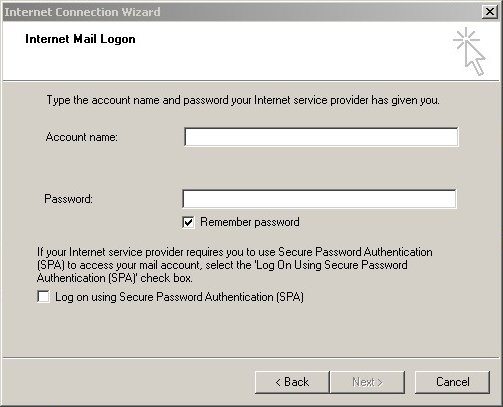
The "Account name:" is your full email address, eg info@yourdomainname, as advised by email.
The "Password:" will have been advised by email.
You can leave "Remember password" selected to have Outlook not prompt you for your password every time it checks for email.
Leave "Log on using Secure Password Authentication (SPA)" deselected as it is not required.
Click on "Next >" to continue.
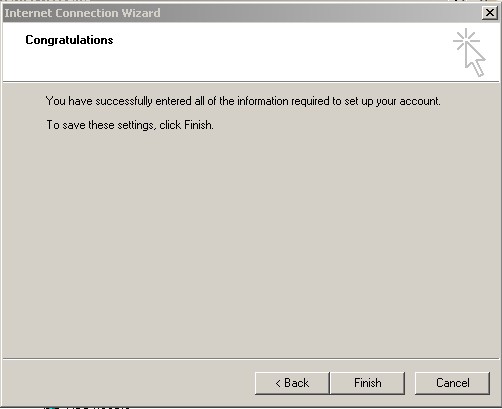
And that's it.
Outlook is now setup to receive emails for your domain.
Click on "Finish" to continue.
|


